Hi Melissa Here! So My son has a new place with no furniture. I mean He has a futon for a mattress. Hey We all start somewhere right? Well this motivated me to redo an old metal chair in my basement. First off the green & orange fabric just had to go! EEEWW ! I like retro.But that was just gross.
These are the tools I used.
1. Screw driver
2 .Staple gun hand powered/staples
3. Soap and water
4. Cotton Batting
5. ELMER's Multi-Purpose
Spray Adhesive
6. Heavy weight material (waxed denim)
7. Hammer
8. Scissors
  |
| So I flipped it upside down and unscrewed the bottom. Making sure I kept the screws in a little dish so as not to loose them. ( I learnt this lesson the HARD way hahahaha. egads!) |
 |
| clean chair |

While your chair drys. Either from a good cleaning or a fresh paint job. Upholstery is next. I leave The old fabric intact and spray Elmer's multi- purpose Spray adhesive in one strip on the right side.


 |
| yes you can see some of the old fabric(but no one will see it) sshh don't tell! |
Staple the sides to the bottom pulling tightly. This part is a lot like wrapping a present. Folding each corner.Now if the staples don't staple flush then use your hammer to tack down better. TIP: make sure DO NOT cover your screw holes.Continue to staple each end of your seat with the staple gun. As you can see there are ear like flaps at each corner. This should be trimmed by an inch or so. Then stuff the batting back at each corner. Staple each corner alternating
crosswise.

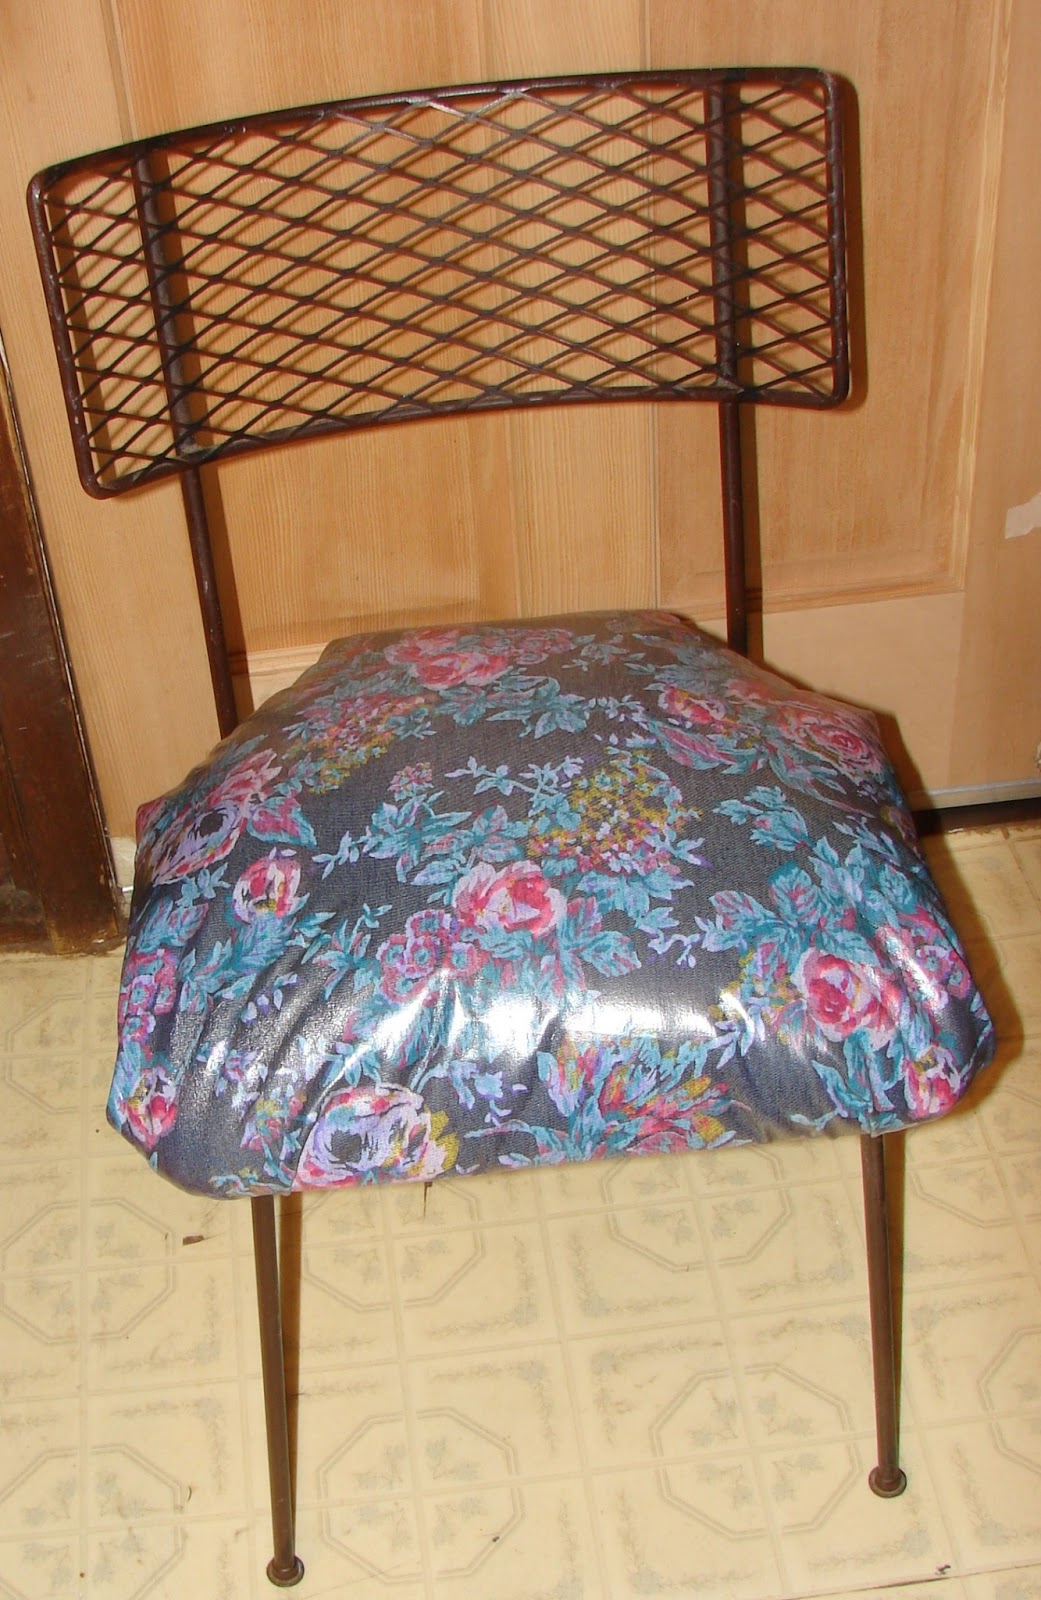
Re attach the seat with the screws and screw driver. Ta da! looks like a new chair!
|
| AFTER |
No comments:
Post a Comment