Monday, October 28, 2013
Thursday, October 24, 2013
Hi everyone sorry it took so long to do another project aka DIY. I found this dress form made of foam rubber and thought this would look great wrapped in burlap. Plus go oh so well with my steam punk themed jewelry. So here we go.

I would say I used 4 yards of burlap fabric all together.Cut Your burlap into 2 inch strips and how you do that is . You pull out one the the strings at the 2 inch mark and cut there so that leaves some fray (fringe). I used a key printed burlap and a plain burlap.
Now get you hot glue gun out. I tried a stapler but the staples just kept popping out. I used maybe 6 glue sticks. I used a little bit of glue in ALOT of places. I started at the bottom and worked up. like this.


 Thanks for reading my blog!

Once I got to the top of the skirt . I folded the last strip in half . Gluing it fold side up and fringe pointing downward.
So then I Cut the plain burlap in half One for the back and one for the front side. Gluing and smoothing gluing and smothing. Until I got this.
Thanks for reading my blog!
Here is a sneeky peek at my neckless. I'm so
excited!
Wednesday, March 20, 2013
sculpting a Mermaid.


So I had to condition that too. Well ombe came to mind here . hence the variation in colors.

Now here she is all lumpy. Lots of work left to do. Shoo

Don't worry she will have hands

 thats all for today folks see ya.
 signed
  crazy hair
  nice hair with some moose help.
 she is held with pink gaze while glue drys
 TA DA She is finished!
Tuesday, March 19, 2013
Sunday, March 10, 2013
Sunday, February 17, 2013
Friday, February 8, 2013
Wednesday, February 6, 2013
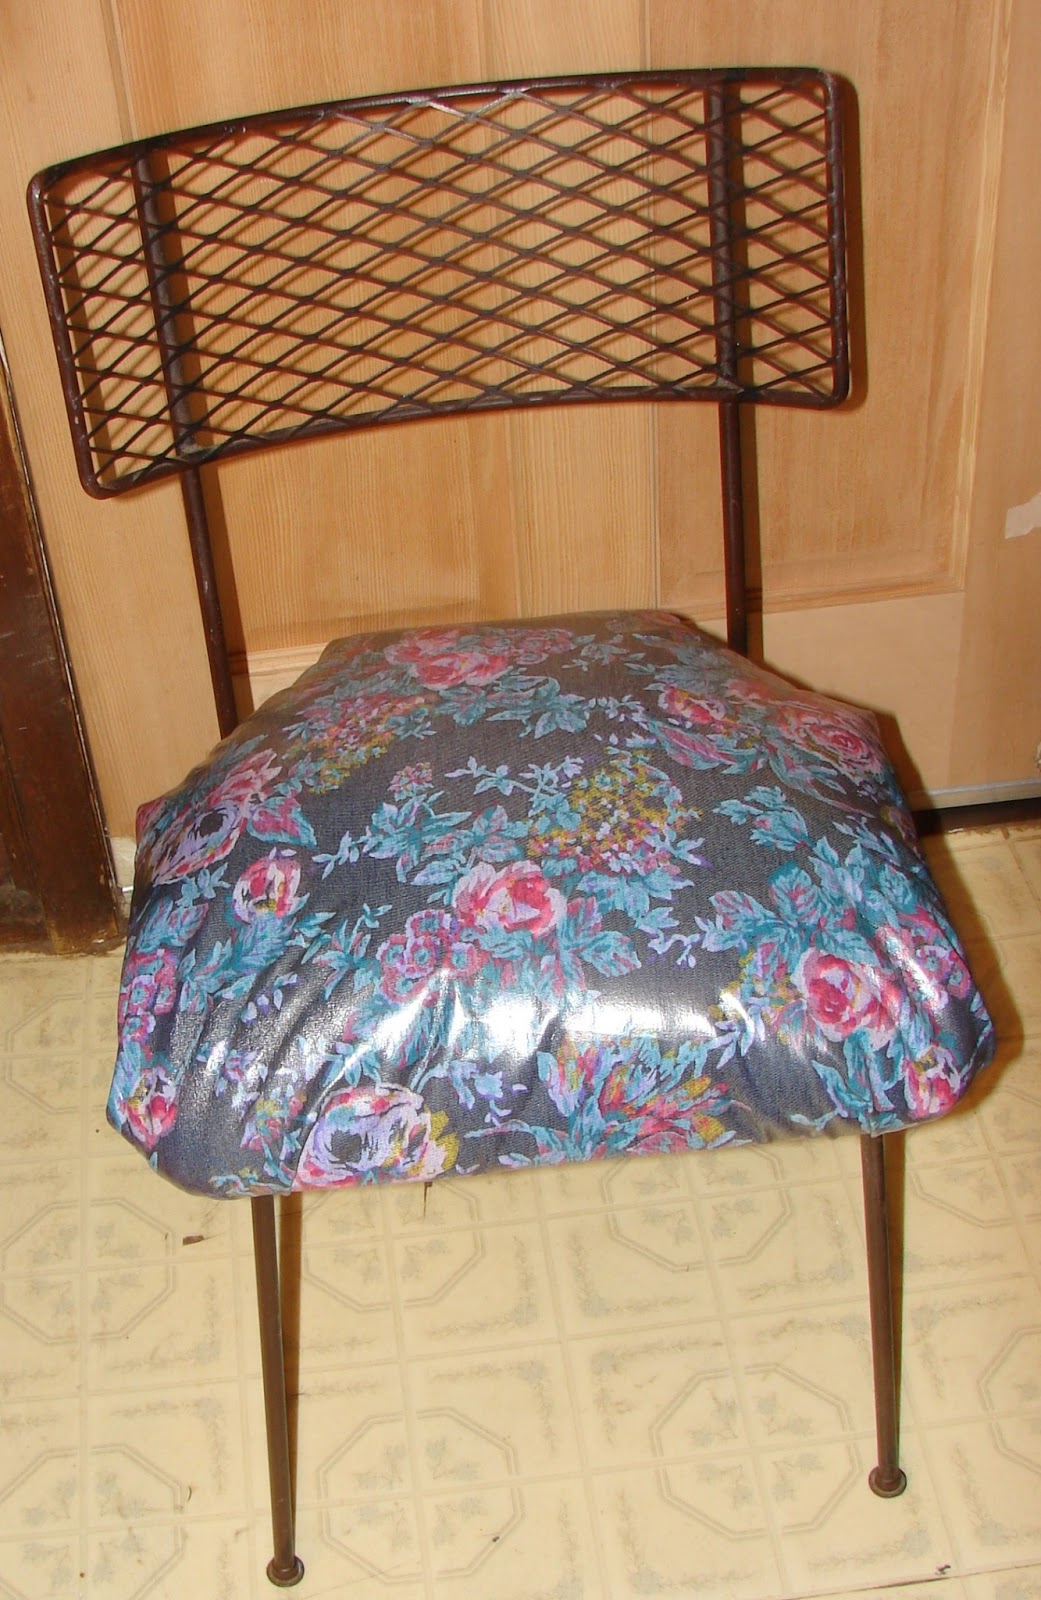
Reupholstered chair -DIY
Hi Melissa Here! So My son has a new place with no furniture. I mean He has a futon for a mattress. Hey We all start somewhere right? Well this motivated me to redo an old metal chair in my basement. First off the green & orange fabric just had to go! EEEWW ! I like retro.But that was just gross.
These are the tools I used.
1. Screw driver
2 .Staple gun hand powered/staples
3. Soap and water
4. Cotton Batting
5. ELMER's Multi-Purpose
Spray Adhesive
6. Heavy weight material (waxed denim)
7. Hammer
8. Scissors
  |
| So I flipped it upside down and unscrewed the bottom. Making sure I kept the screws in a little dish so as not to loose them. ( I learnt this lesson the HARD way hahahaha. egads!) |
 |
| clean chair |

While your chair drys. Either from a good cleaning or a fresh paint job. Upholstery is next. I leave The old fabric intact and spray Elmer's multi- purpose Spray adhesive in one strip on the right side.


 |
| yes you can see some of the old fabric(but no one will see it) sshh don't tell! |
Staple the sides to the bottom pulling tightly. This part is a lot like wrapping a present. Folding each corner.Now if the staples don't staple flush then use your hammer to tack down better. TIP: make sure DO NOT cover your screw holes.Continue to staple each end of your seat with the staple gun. As you can see there are ear like flaps at each corner. This should be trimmed by an inch or so. Then stuff the batting back at each corner. Staple each corner alternating
crosswise.

Re attach the seat with the screws and screw driver. Ta da! looks like a new chair!
|
| AFTER |
Subscribe to:
Comments (Atom)